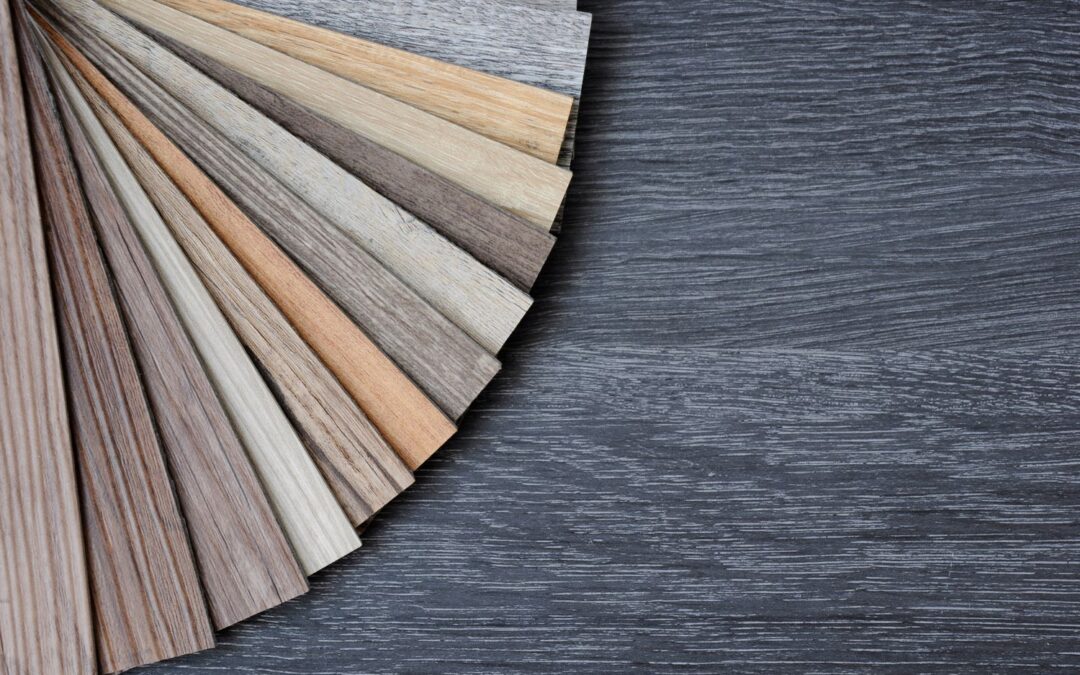
December is here, bringing holidays, vacations, and a chance for home improvements. New vinyl revitalizes a home, so here’s 10 vinyl flooring mistakes that are commonly made during DIY projects that you’ll want to be sure to avoid. Commercial Floor Services is here to help you with all your flooring needs, whether it’s consultation, materials, installation, or anything else!
Here are 10 common DIY vinyl flooring mistakes to avoid.
Pre-Installation
1: Material Thickness
Vinyl flooring comes in varying thicknesses, and it is important to use the correct kind to avoid one of the most common vinyl flooring mistakes. High-traffic zones should be thicker than areas with less wear, such as bedrooms. It is essential to look at the thickness of the “wear layer” on the vinyl, as that will determine overall durability.
2: Order Extra
Order enough material plus a little extra; 5-10% is best. This ensures you have enough to finish the job and gives you extra for mistakes. It is also good to have some left over for future repairs, especially if the manufacturer discontinues your product. This is one of the most commonly overlooked vinyl flooring mistakes.
3: Underlayment
Underlayments are used for sound deadening, moisture protection, and a softer walking surface. Not all vinyl products or areas will need this, but it can be critical to the floor’s longevity, such as underlayment for moisture protection from a concrete subfloor. The manufacturer’s recommendations should always be followed.
Installation
4: Expansion & Contraction
Regardless of what vinyl you choose, the material should acclimate. Let it sit in the building it will be installed in at the temperatures it will commonly see for at least 24hrs. This will reduce gaps once installed when temperature fluctuation causes the vinyl to contract or expand.
In addition, know the appropriate spacing to leave between the vinyl and the edges of the room. Proper gapping allows for expansion and contraction. Sometimes, gaps should be left between the planks or tiles during installation for the same reason. The manufacturer’s instructions will provide guidance.
Temporarily removing your baseboards and undercutting doorway trim will make it easy to hide the expansion gap along the walls. This step is easily overlooked, so be sure to address it to avoid #4 on our list of vinyl flooring mistakes.
5: The Subfloor
Because vinyl is thin compared to other flooring materials, it is critical to prepare the subfloor properly. This includes using leveling material to even out high and low spots and removing any nails, leftover glue, etc. This will prevent bumps underneath or separation between the pieces of vinyl. This cannot be done retroactively, so consider it a part of your checklist to avoid one of the most common vinyl flooring mistakes.
6: Pattern Continuity
If your floor incorporates a pattern, such as a herringbone design, it is critical to ensure every piece of vinyl is installed correctly. An incorrectly installed piece, even one, will throw off the entire floor. This will lead to an unsatisfactory finish or undoing work once the mistake is caught to get back on track. Double-check each piece and lay every tile correctly to avoid one of the most frustrating vinyl flooring mistakes on our list!
7: Floor Heights
If your vinyl runs up against a different type of flooring, have a solution for the different heights. For instance, most ceramic or porcelain tile has a thickness of 1/4 – 3/4 inches. This doesn’t include the 1/4 – 1/2 inch of specialized tile subfloor or the 1/8 inch layer of mortar. If your vinyl has a thickness of 6 millimeters, roughly 1/4 of an inch, this will leave a height disparity between the two materials and a potential tripping hazard. There are solutions for this, most commonly utilizing specialized transitions.
8: Adhesives
While some vinyl is installed as a free-floating floor or with fasteners, other varieties are glued down. It is essential to use the correct adhesive in the right quantities. Too little will not adhere the vinyl to the subfloor, and too much will squeeze up between the joints of the pieces, creating a challenging cleanup.
In addition, it is imperative to let the glue completely cure. Walking on the floor before the adhesive has set can cause it to fail, which must be avoided. Typically, this is 24-48 hours, but the manufacturer’s recommendations will provide guidance.
Post-Installation
9: Cleaning
Vinyl flooring mistakes can also occur after the installation has been completed. First and foremost is preventing moisture or liquid exposure and wiping up spills as soon as possible. Neglecting to do this can cause the adhesive to fail and the vinyl to curl or rise over time.
In addition, make sure to use the appropriate cleaning products and tools. Avoid acidic, bleach-based, or abrasive products or tools. If you vacuum the hard surfaces of your home, it is essential to ensure your vacuum doesn’t have a “beater bar,” as the bar can damage the vinyl.
10: Repairs
If you find any damage occurring, fixing it promptly will reduce the chance the issue could spread. Repairing vinyl is often easy, but the longer repairs go unattended, the more damage can occur. Foregoing prompt repairs is last but not least on our list of vinyl flooring mistakes.
These are our top 10 vinyl flooring mistakes to avoid when doing a DIY floor. The professionals at Commercial Floor Services have many years of experience with everything from classic hardwood to vinyl, and we’re here to assist you with all your flooring needs.
Contact us anytime!


